5 Easy Yoga Poses for Travel
/
My name is Christina Mattison, and I’m a nomadic yoga teacher. I teach yoga online and wherever my husband happens to be stationed. In this post, I’m going to share with you 5 of my favorite easy yoga poses for travel. These poses will stretch important muscle groups such as hip flexors, shoulders, and the low back – which tend to be problem areas after sitting for hours and hours. As an added bonus, focusing on your breathing and allowing your mind to quiet down will do wonders for your mental and emotional state. All of these are yoga poses to help alleviate jet lag symptoms. These simple, beginner-friendly yoga poses will help parents and even kids unwind and relax after a long day of travel.
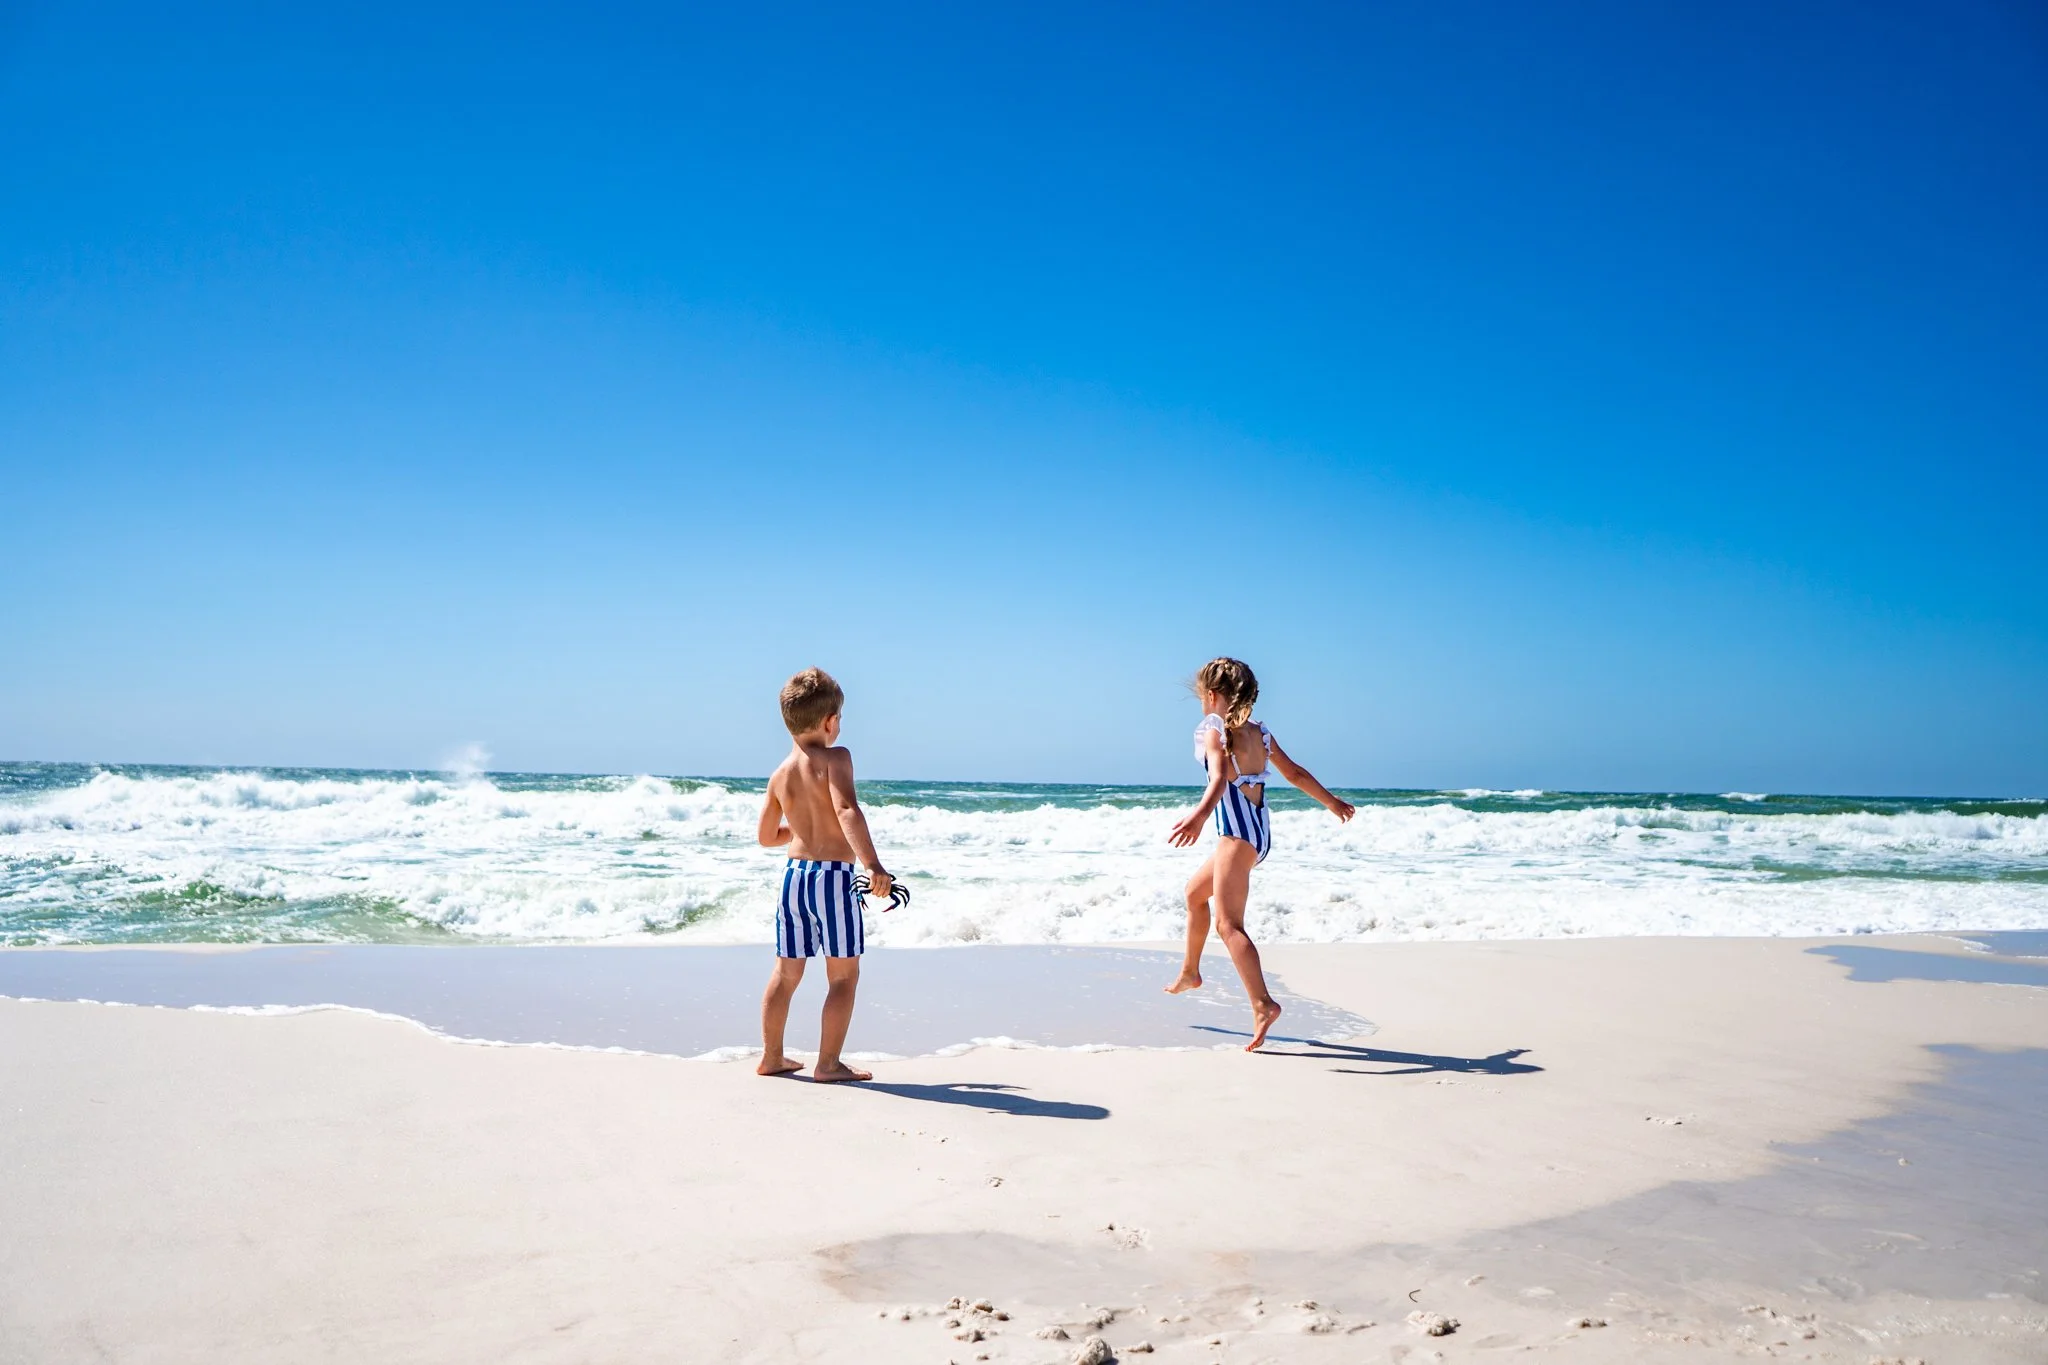
All of these poses can be done with children. If you are traveling with kids, have them join in. Just as you feel the stress and physical strain of travel, they do too. Practicing Yoga with kids is a deeper way to connect with them. It calms the mind, body, and spirit. If your family is feeling extra tense, take some time to practice these poses with the entire family.
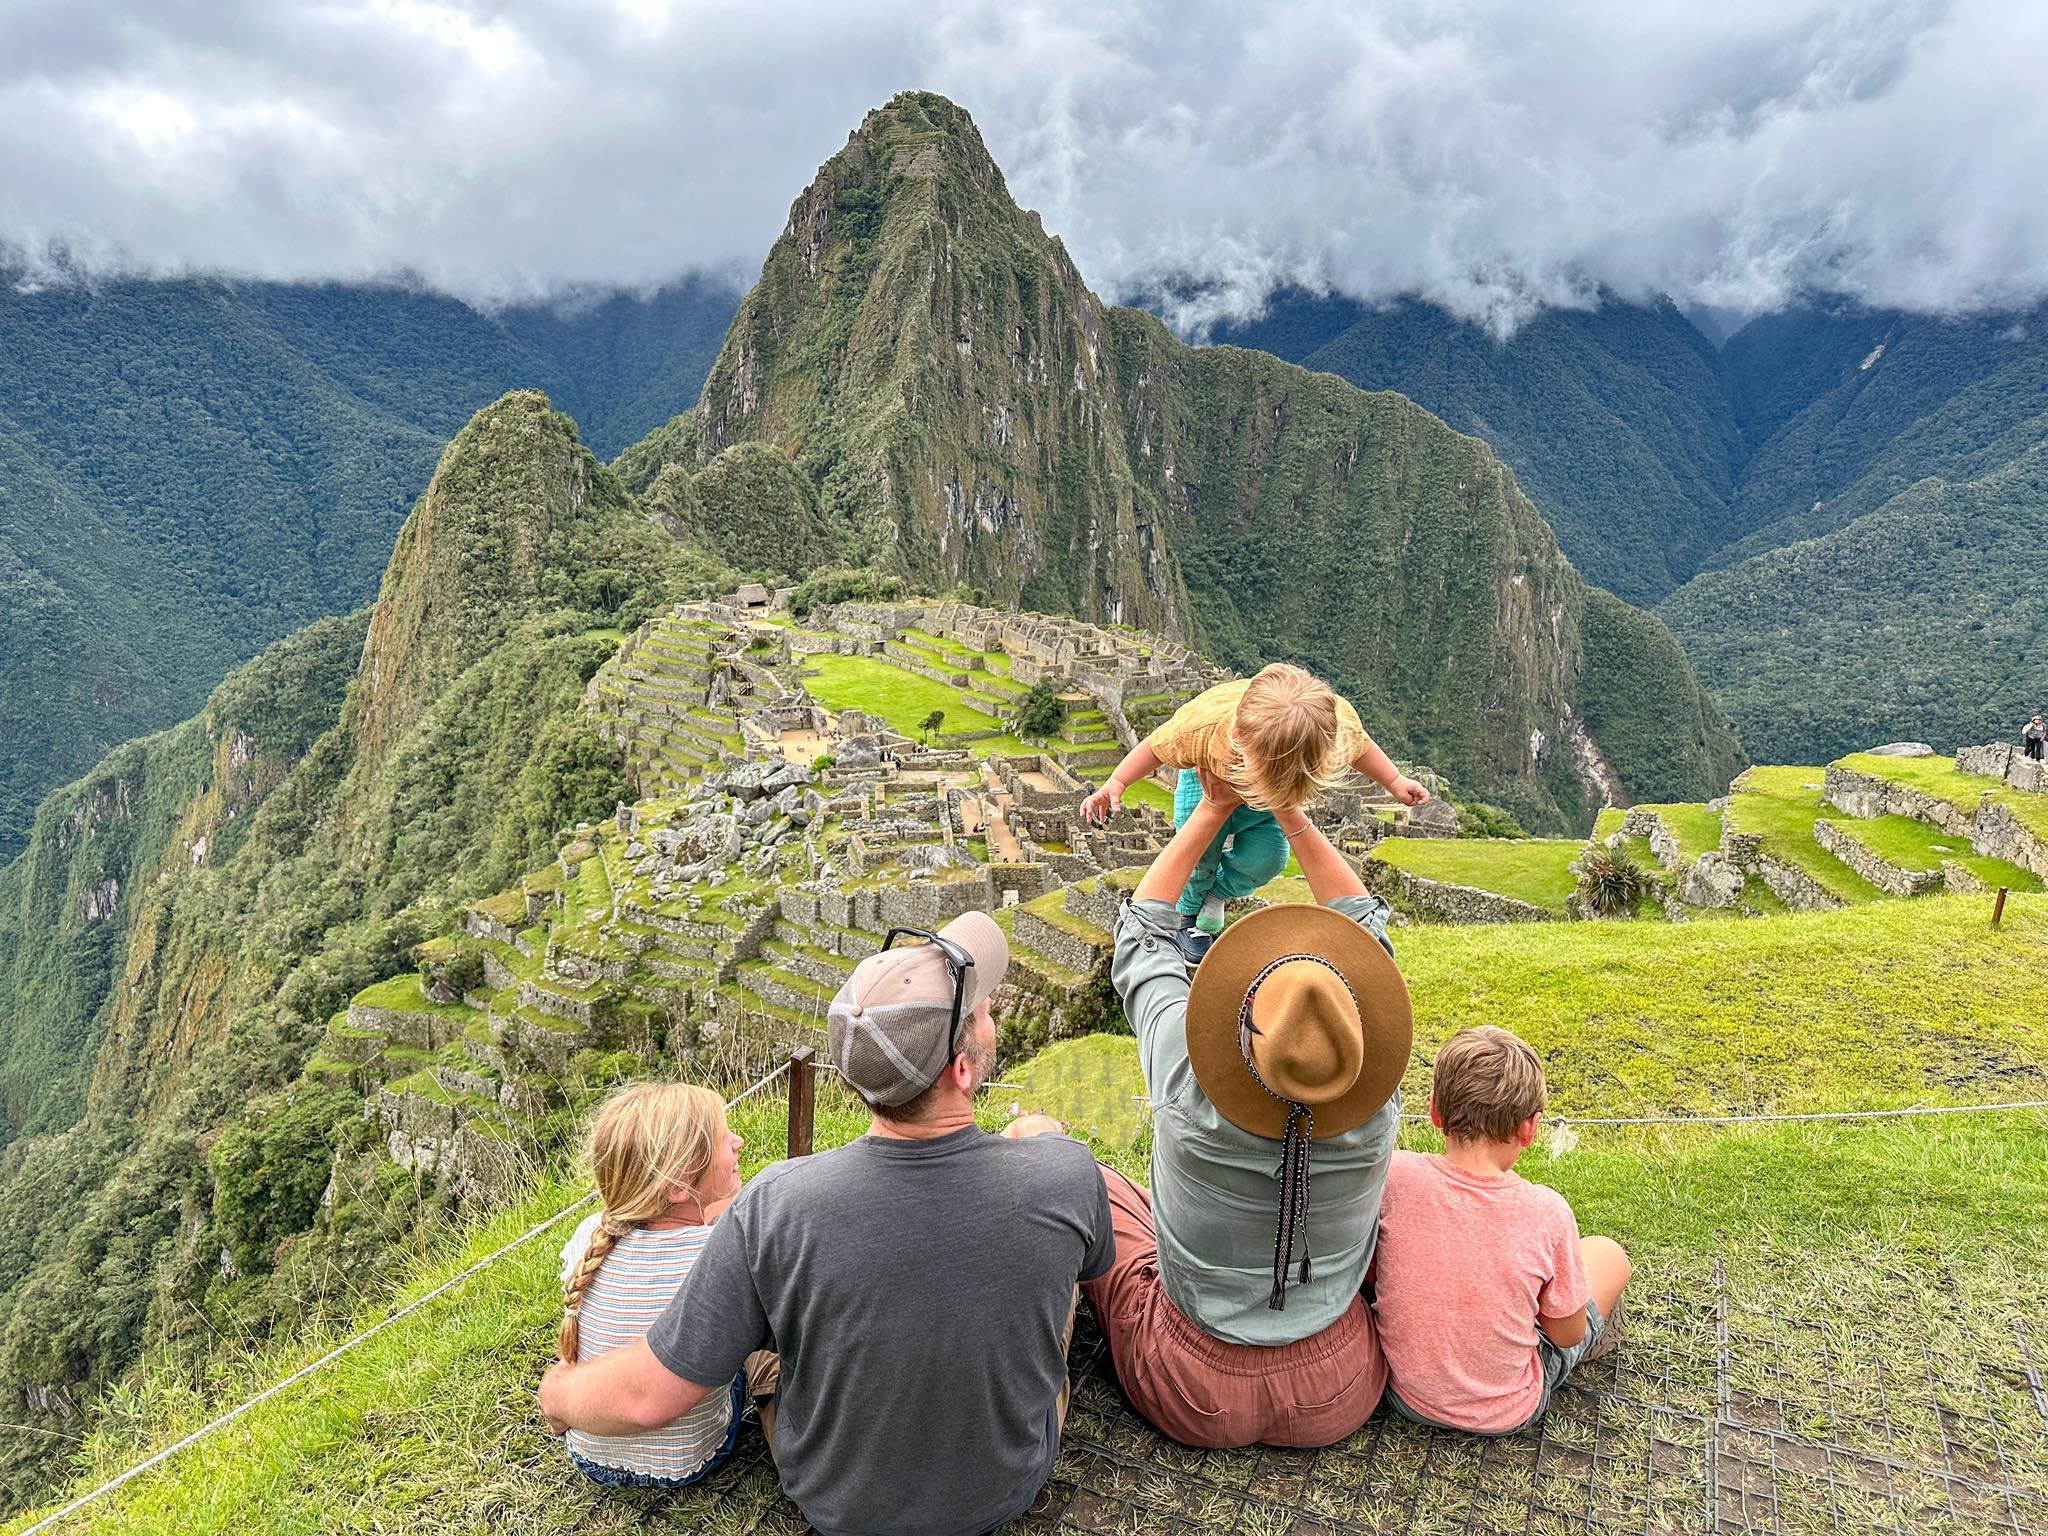
Get your trip started on the right foot. Dedicate a few minutes once you arrive to decompress, work out the kinks, and allow yourself a few moments of quiet to work through these perfect yoga poses for travelers.
Get the gear to maximize your Yoga on the Go!
Travel Yoga Mat

S'Well Water Bottle

A Yoga Bag/Carry On Bag

1) Cat/Cow

Cat Pose

Cow Pose
I just love these poses. They are amazzzing for stretching the entire back, and I almost always start my yoga practice with a few rounds.
Start in a Table Top position with your wrists stacked over shoulders and hips stacked over knees.
Inhale to drop your belly toward the floor, lifting this hips up toward the ceiling and reaching the heart forward through the arms.
Draw the shoulder heads back and lengthen through the back of your neck.
On your exhale, press through the hands, lengthen the tailbone down toward the space between your knees, and round the back like you’re an angry Halloween cat.
Tuck your chin toward your chest to stretch through the entire backside of the torso.
Use your inhales and exhales to transition you back and forth between the two poses for a few rounds, then return to Table Top.
READ NEXT: How to Save Money to Travel More
2) The Low Lunge

The Low Lunge
This pose is the MVP for your tight hip flexors, the muscles at front of your hips. These tend to get really tight when we sit for long periods of time.
Starting from Table Top, step your left foot forward between your hands.
Stack the left knee over the left ankle, and align the knee with the middle of the foot. Ensure your right knee is slightly behind your right hip.
Walk the hands up onto the front thigh, onto the hips, or extend them up overhead with the palms facing each other.
Square the hips, trying to draw the left hip back and the right hip forward. Allow your hips to descend toward the floor, while still keeping the legs engaged by pressing through the left foot and right knee.
Breathe deeply, allowing the whole torso to fill with breath. Hold the pose for 3-5 full breaths, and then lower the hands back to the floor.
Return to Table Top, and then repeat on the other side.
READ NEXT: The Absolute Best Baby Travel Must Haves
3) Pigeon Pose

Pigeon Pose
Probably one of my favorite poses of all time. It targets the outer hips, hip flexors, and back.
From your Table Top position, take the left knee forward to behind the left wrist, then cross the left shin diagonally across the body, so that the left foot is right around the right hip.
Walk the right leg back until you’ve reached your “edge” in the pose – aka you feel the stretching sensation but no pain. If you feel pain, back off a bit.
Your left hip will likely be elevated off the floor, so grab a pillow or rolled up blanket, and wedge it under your left buttock. Aaaahhhh, doesn’t that feel nice?
You can keep the upper body upright with the hands on the mat, lower the torso onto the forearms, or relax the head all the way down to the mat or your stacked hands.
Hold for 5-7 breaths, and then switch to the other side.
Note: If Pigeon Pose is not working for you (you’re super tight, you’ve had a hip replacement, you have knee pain, etc), you can lie down on your back and take Figure 4 Pose, or Supine Pigeon. Cross your left ankle over your right knee, flex the left foot, and use your hands to draw your right thigh toward your chest as far as is comfortable.
READ NEXT: Everything You Need to Know for a Relaxing Trip to Navarre, Florida
4) Eagle Arms

Pigeon Arms (Pardon my furry friend in this photo. She loves to be featured in my pictures and videos… what a diva.)
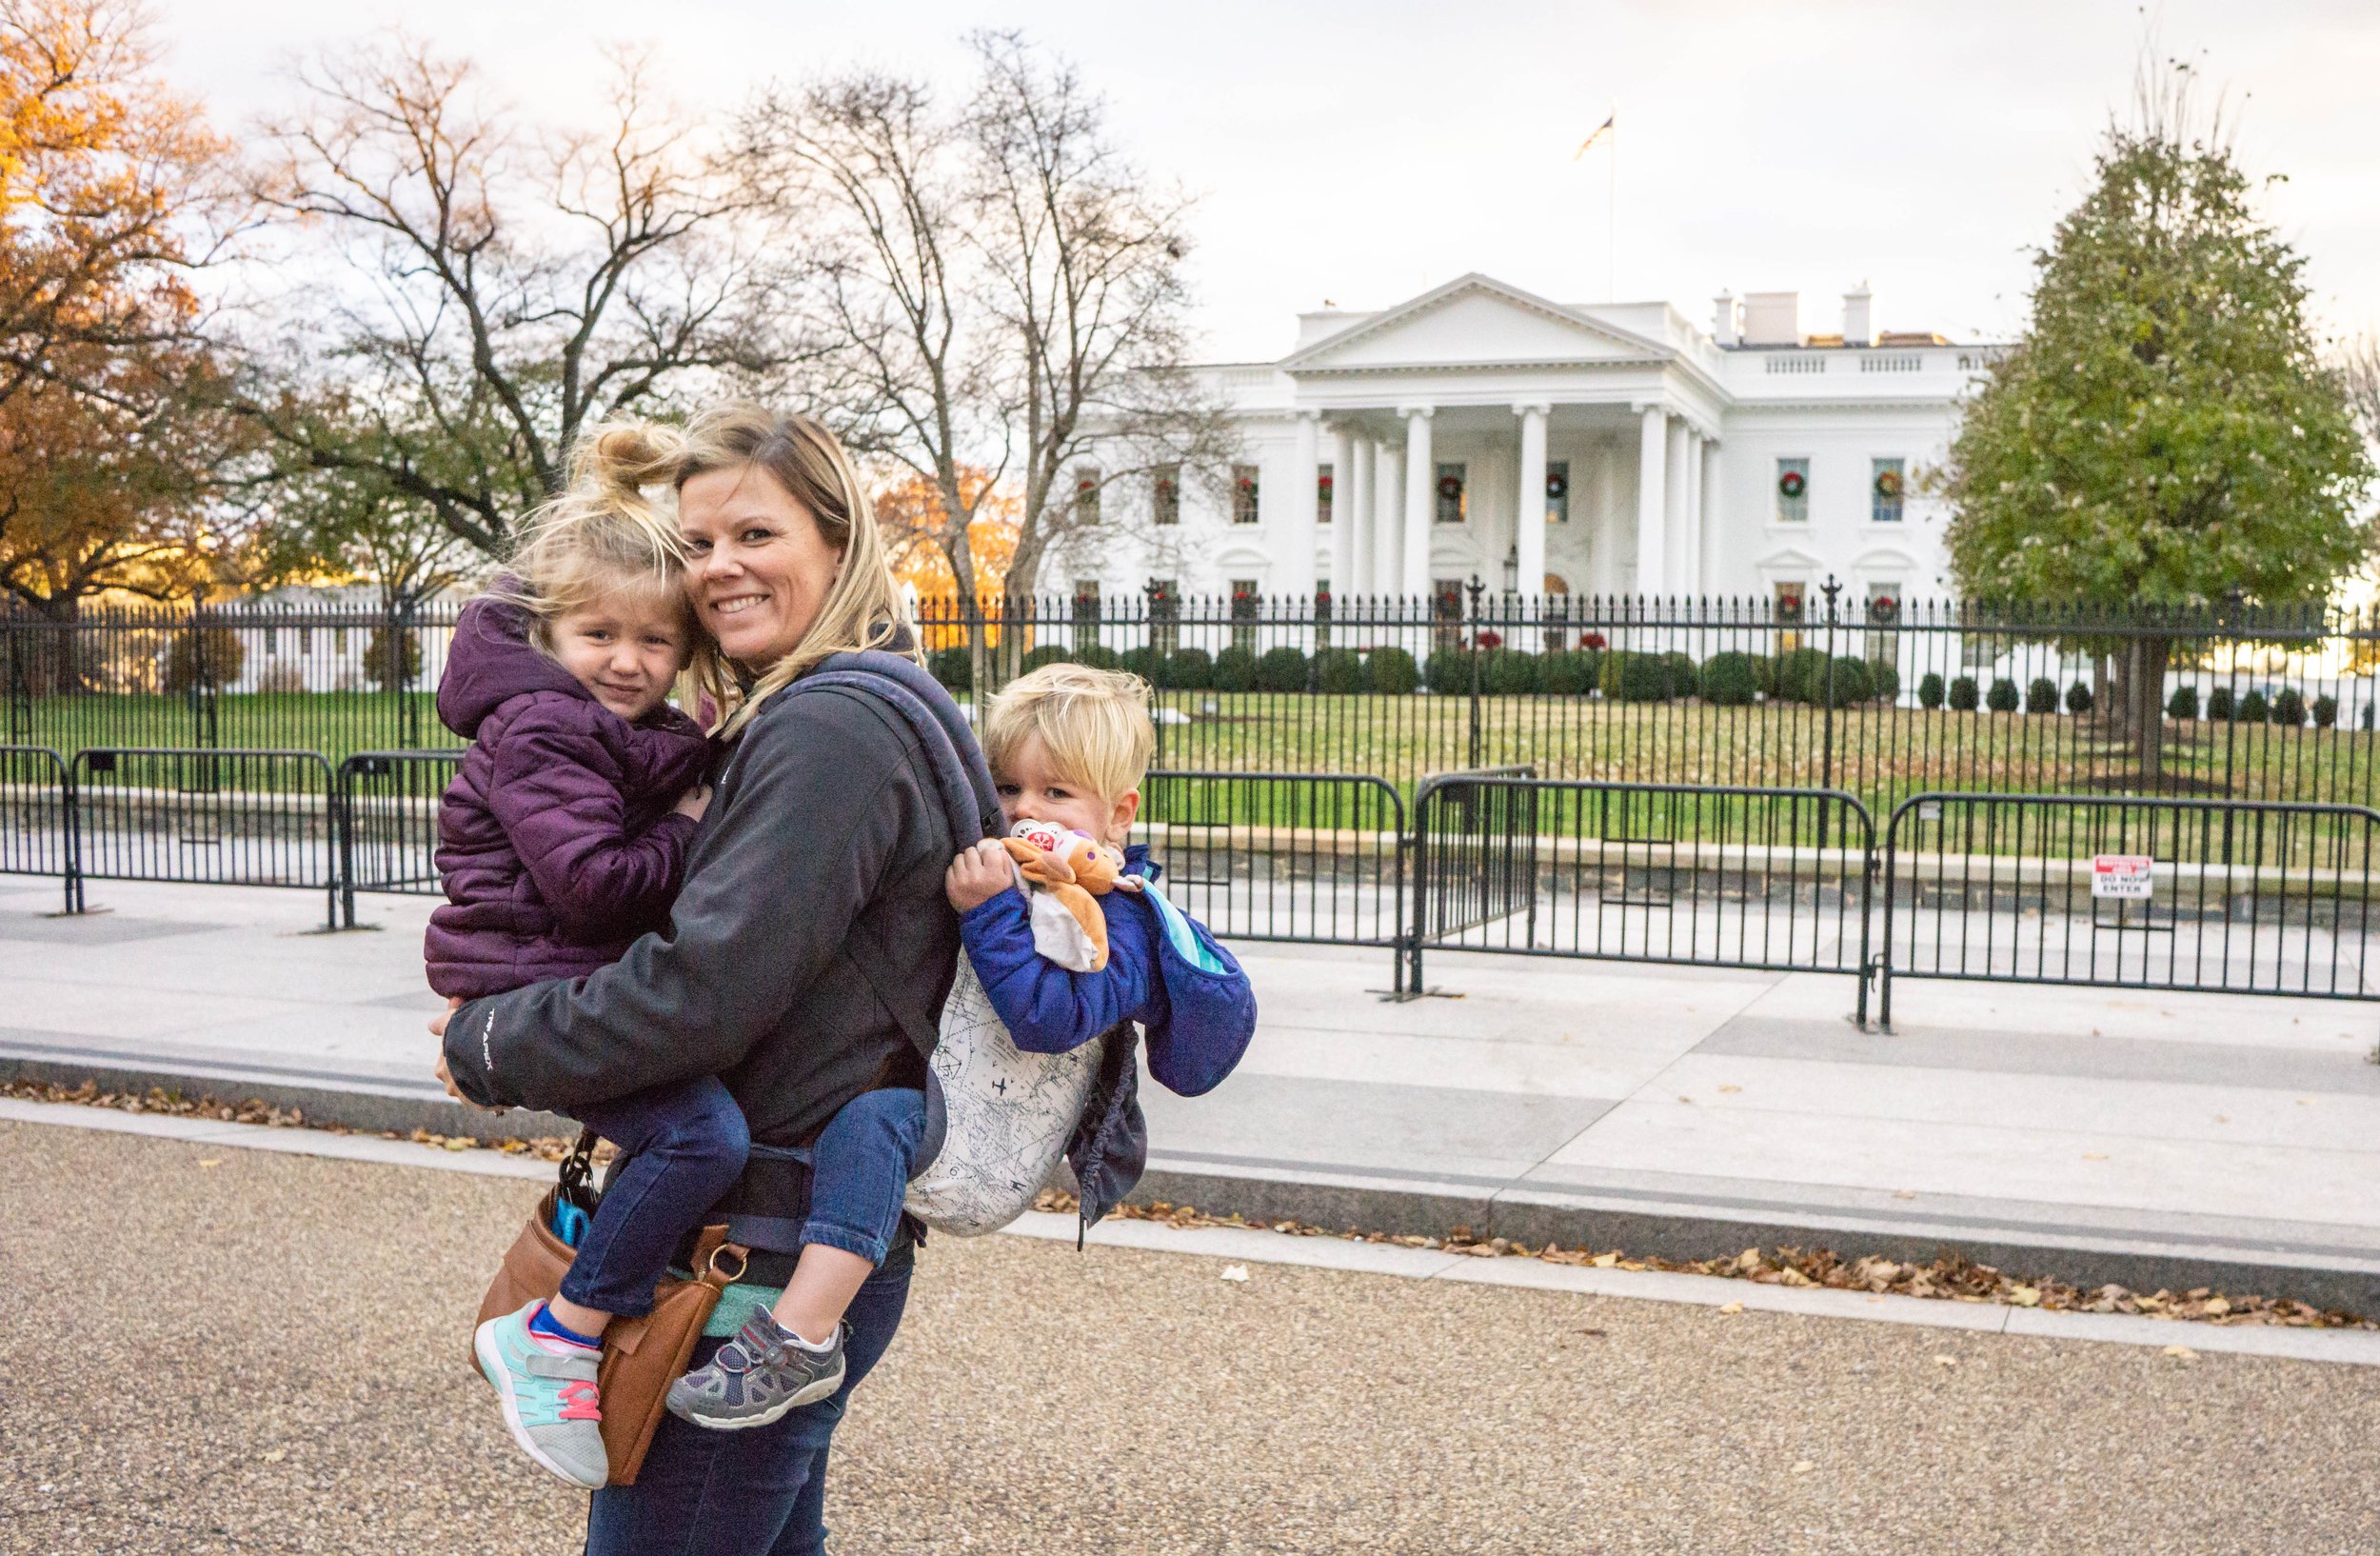
Pigeon Pose gives some love to your shoulders. It is particularly good after a long day of carrying a backpack or babywearing.
From a seated position (crossed legs is fine), take the arms into a goal post shape out to the sides.
Upper arms should be parallel to the floor.
Hook the right elbow under the left elbow, bringing the back of the hands together. If it’s available to you, tuck the right fingertips into the left palm.
Press the elbows and backs of the forearms into each other, like you wanted to flick your arms apart.
Wrap your shoulder blades around the outsides of your ribs, allowing them to spread apart. You can stay upright, or you can tuck the chin toward the chest and round the upper back to get a nice stretch through the traps and the back of your neck.
Take 3-5 breaths here, then release and switch to the other side.
Note: If your shoulders really don’t enjoy this pose, you have the option to give yourself a hug. Seriously, just wrap your arms around yourself, reaching your fingers toward the edges of your shoulder blades. You still have the option to fold forward if you like. When you’re ready to switch, just repeat with the opposite arm on top.
READ NEXT: 6 Simple Wayts to Keep Your Family Safe on Vacation
5) Legs Up on the Wall

Legs Up On the Wall
Rest those tired, achy feet, my friend. This pose is relaxing, restorative, and rejuvenating. Swollen ankles from flying? Do this pose. Feet aching from walking all over Disney World? Do this pose. Calves and hamstrings cramping from hiking, swimming, or running to your gate? Do this pose. Gravity assists circulation by assisting in the return of blood back to the heart. It’s a mild stretch for your hamstrings and lower back. Additionally, reclining plus controlled breathing leads to a slowing down within your body. Your heart rate will begin to slow and your body will begin to experience the “Relaxation Response,” which is the opposite of the “fight or flight” response.
Use the wall, edge of the bed, or a chair for this one. Lay onto your back, swinging your legs up the wall. Try to get your seat as close to the wall as possible, with your hips resting on the floor. You can also elevate the hips on a folded blanket or pillow if your back feels tweaked flat on the floor.
Let the arms rest out at your sides, or rest the palms on your belly.
Relax here for at least 5 minutes, longer if you can manage. I promise your body will thank you!
READ NEXT: How to Score Cheap Flights for Your Next Vacation
These 5 easy yoga poses for travel will help you stay release travel tension and rejuvenate. If you’d like the full yoga class experience, check out my 25 minute Yoga for Travel video on my YouTube channel. In this video, I’ll take you through my personal yoga travel sequence, show you some additional poses, and give you tips on how to enter, exit, and transition between each pose. It’s perfect for yoga on the road, yoga in the hotel room, or yoga after a long day of traveling. I’d love for you to subscribe to my channel so I can share my future yoga classes with you!
Are you totally new to yoga and like to learn more? Maybe you have no clue where to start? Grab my FREE Yoga Beginner’s Guide which is a yoga tutorial where I explain common yoga terms, show you my favorite props, and break down 10 popular yoga poses step by step.

PIN ME:

READ NEXT:

AMAZON AFFILIATE DISCLOSURE:
There are links on this site that can be defined as “affiliate links”. This means that I may receive a small commission (at no cost to you) if you subscribe or purchase something through the links provided.
Big Brave Nomad is a participant in the Amazon Services LLC Associates Program, an affiliate advertising program designed to provide a means for website owners to earn advertising fees by advertising and linking to amazon.com, audible.com, and any other website that may be affiliated with Amazon Service LLC Associates Program.